Setup OpenCart on Joyent Cloud
One day my brother asked for help in setting up an eCommerce system for him. After evaluating plethora of eCommerce system decided to install OpenCart for him. Since eCommerce is the core business my brother did not want to outsource it. For the purpose of evalutation did research on the following open source eCommerce platforms:
Java Based - Mainly discarded due to complexity of setup and efforts required to launch quickly for a small team.
.Net Based - Good choice and with the availability of Windows VM on Amazon and Windows Azure makes it easier to manage. But still the efforts required to customize and manage are not less then the Java based platforms, so dropped them from the race as well.
Python Based - Very good choice if all you need is an eCommerce framework to build be-spoke system. But doing so requires upfront efforts before something is useable. These option were dropped due to development teams skills and time constraints.
PHP Based - Some of the following eCommerce platform were also evaluated based on php, besides opencart. Some are rejected due to the amount of efforts required to customize, performance tuning and launch.
One of the key reasons for picking up OpenCart is how easy it was for my brothers small team to get their head around the OpenCart code and customize it. Obviously the business is right now pretty small so there isn’t much worry about the scalability of the solution and in order to keep his costs under control he decided to give it a try using Joyent Cloud. As for the reason why Joyent cloud will be in another post.
Joyent Cloud Account Setup
While selecting a cloud service provider of choice after frustrating experience with Microsoft Windows Azure, due to its phone verification issues and with Amazon AWS due to its non acceptance of CVV2 verification (which by the way I feel is ridiculous) settled on Joyent Cloud. Following are the steps for setting up a Joyent Free Trial Account, which I intend to test for next 3 months:
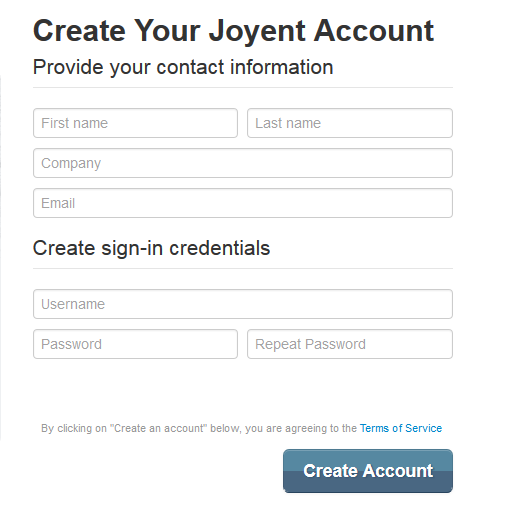
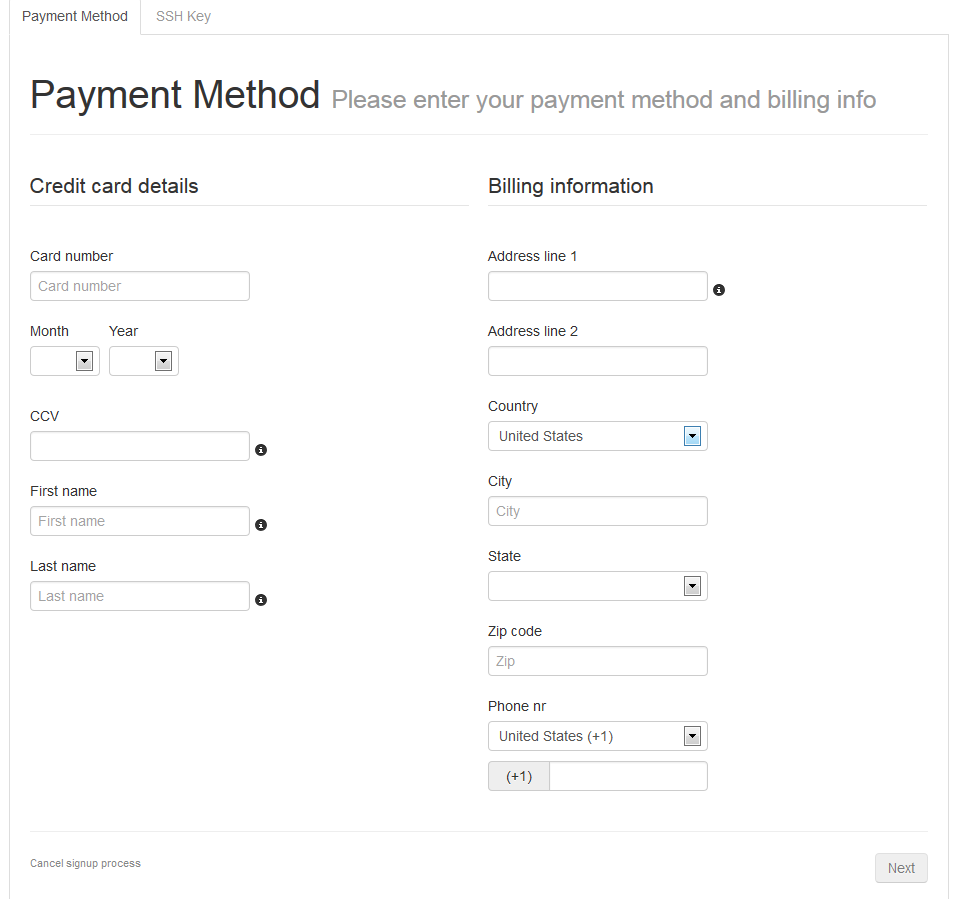
Step 1: Sign up for an account by filling up the registration form and later on providing the billing information and a valid credit card with cvv2.
Step 2: Generate SSH key the instructions for Max OS X and Windows can be found in the link Generating an SSH Key
Joyent Cloud Ubuntu Server Setup
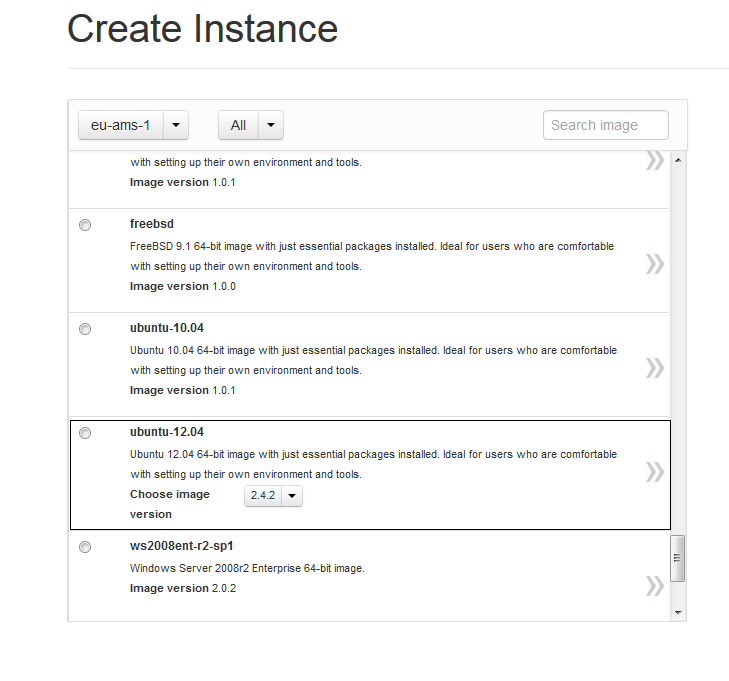
Once you have setup your account and logged on to Joyent Control Panel you can create instance for a virtual machine. Once the machine is running you can see the assigned ip address. You can log on to your machine using Putty on Windows or SSH on mac.
Installing Necessary Software
Normally when you setup Ubuntu from image repository of Joyent Cloud, you will get a bare-bones server install. Now we need to setup LAMP stack on the server. Usually I prefer to use Fabric for automatic setup for a virtual machine on the cloud. But since this was just one off setup so just used the command shell.
Installing ufw, apache2, mysql and php 5 on the server. I will also install Mercurial to get the code from the main repository where the code is regularly merged from upstream git repository of OpenCart. Since opencart repository is on github need to install hg-git mercurial plugin:
apt-get install ufw apache2 php5-mysql php5 php-pear mysql-server mysql-client mercurial php5-curl php5-gd php5-mcrypt
pip install hg-git
If everything goes smooth you will have apache2 webserver with PHP, MySQL and apache will be setup. You can test it by going to http://youripaddress/ and should see a page titled “It Works!”.
Download and Install OpenCart
Once the necessary software is installed now its time to setup OpenCart. Before beginning the download and install of opencart I would like to create separate accounts for future automatic deployment and merge of opencart:
hg clone git+https://github.com/opencart/opencart.git
hg clone opencart ecommerce_main
The above command will create two repository one in directory opencart and another which is a clone of upstream repository on the local machine. In future all the local changes and customization of the opencart will be managed in ecommerce_main and it will be used for deploying opencart on the servers.
Once opencart is downloaded its installed according to instructions on OpenCart Installation Guide. However there is a minor variation in the way we install the opencart as we are not using windows or filezilla.
Following steps were done on command line to install OpenCart on Ubuntu Server:
# Create mysql username and password for OpenCart
mysql -u root -p
mysql> CREATE DATABASE dbname CHARACTER SET utf8 COLLATE utf8_general_ci;
mysql> create user 'user_name'@'localhost' identified by 'user_pass';
mysql> grant all privileges on dbname.* to 'user_name'@'localhost';

# Try logging on to mysql using the given username and password
mysql -u user_name -p dbname
mysql>

# Clone the directory ecommerce_main to the public html. This structure is specific to Ubuntu.
hg clone ecommerce_main /var/www/vhosts/site_name

# Go to the directory of the cloned repository and update to release version 1.5.5.1
cd /var/www/vhosts/site_name
hg update v1.5.5.1

# Go to upload directory and copy config-dist to config.php and change owner for few files
cd /var/www/vhosts/site_name/upload
cp config-dist.php config.php
cp admin/config-dist.php admin/config.php
chown -R www-data:www-data /var/www/vhosts/site_name/upload/system/cache/
chown -R www-data:www-data /var/www/vhosts/site_name/upload/system/logs/
chown -R www-data:www-data /var/www/vhosts/site_name/upload/image/
chown -R www-data:www-data /var/www/vhosts/site_name/upload/image/cache/
chown -R www-data:www-data /var/www/vhosts/site_name/upload/image/data/
chown -R www-data:www-data /var/www/vhosts/site_name/upload/download/
chown www-data:www-data config.php admin/config.php

# Change the Default directory for apache server in Ubuntu
# Open file /etc/apache2/sites-available/default in any editor
# Change /var/www to  /var/www/vhosts/site_name/upload
Once the above steps are done you are ready to proceed with the installation point your browser to http://yourserver/ and you will be presented with the site for installation now you can follow the OpenCart installation guide to install. Usually for database prefix use site_name abbreviation but choice is yours.
After the installation run following commands to remove the install directory and also change permissions for config.php so that others cannot change it. Besides the changes are transferred back to the ecommerce_main repository so that it reflects the updated production version:
# Change to upload directory
cd /var/www/vhosts/site_name/upload
chown root:root config.php admin/config.php

# Remove install directory using mercurial and config.php and upload to server.
hg remove install
hg add config.php admin/config.php
hg ci -m "Production installed version"
hg push

# If you do not use mercurial then
rm -rf install
Now you can go to your store at http://yourserver/ and see the newly installed store. Go to http://yourserver/admin/ for managing it.